
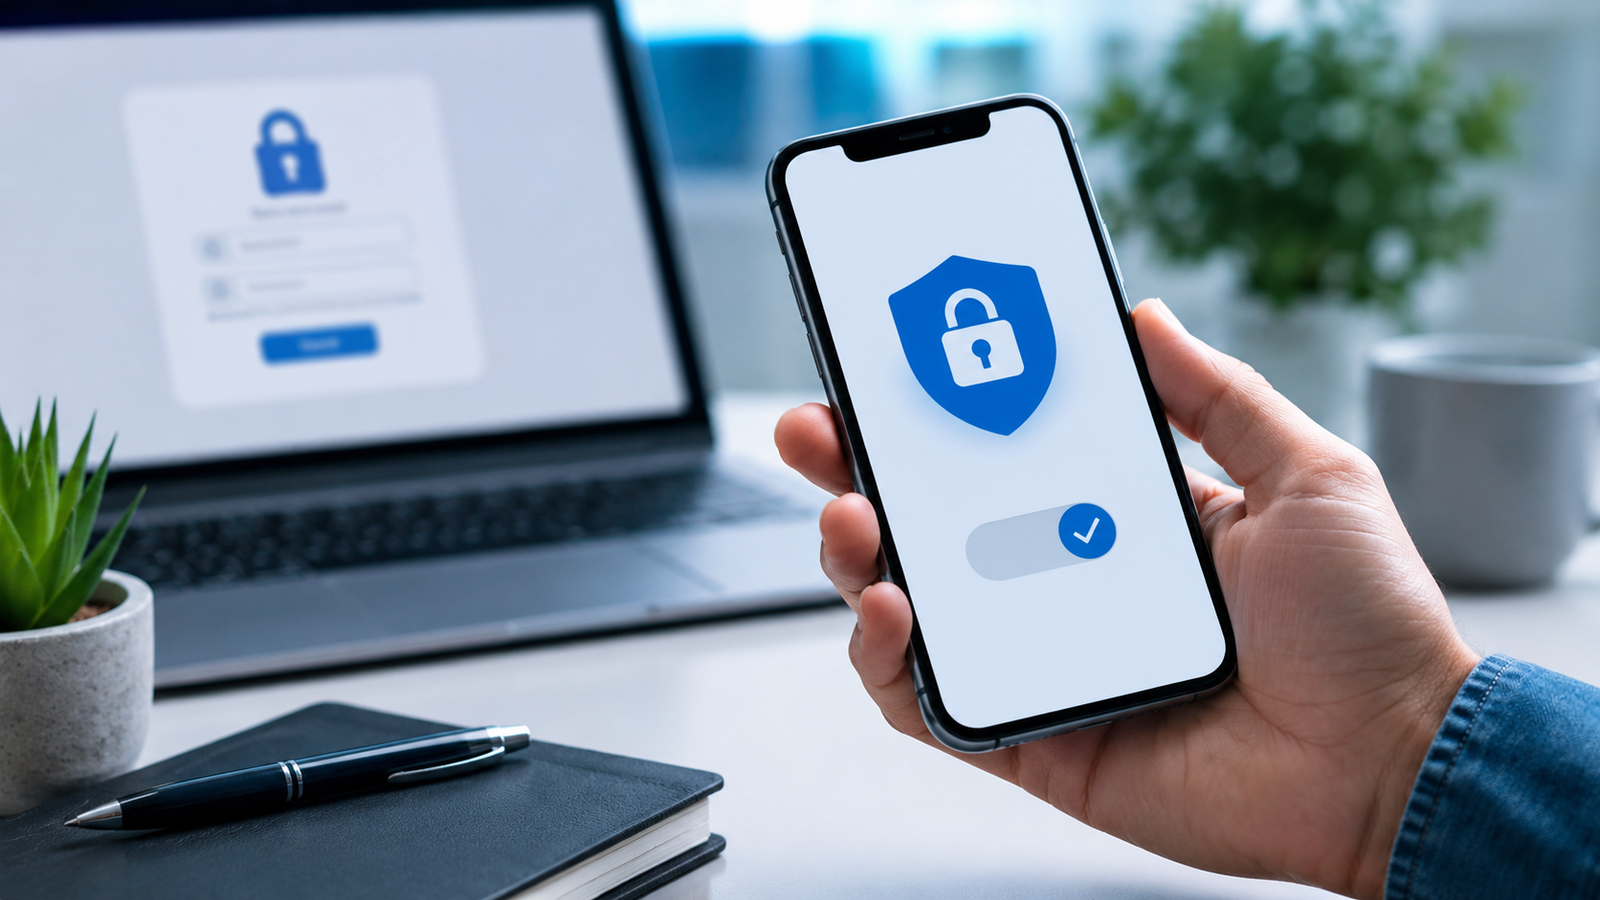
HowToForYou.com – Microsoft Authenticator can help protect online accounts by adding another verification step during sign-in or, in some cases, replacing the traditional password-based process.
The app supports personal Microsoft accounts, work and school accounts, and certain third-party services that allow authenticator apps for two-step verification. It can also be used for passwordless sign-in with a Microsoft account.
Understanding how to set up Microsoft Authenticator begins with choosing the type of account and security method you want to use. The setup process varies depending on whether you are securing a personal Microsoft account, an employer or school account, or another supported online service.
What Is Microsoft Authenticator Used For?
Microsoft Authenticator is a mobile app that can be used in several ways:
- Add two-step verification to an account
- Approve sign-in requests
- Generate one-time verification codes
- Provide an alternative sign-in method for a Microsoft account
- Support passwordless sign-in for eligible Microsoft accounts
- Secure certain non-Microsoft accounts that support authenticator apps
The same app can manage multiple accounts, although the setup process may differ depending on the service.
How to Set Up Microsoft Authenticator for a Personal Microsoft Account
The first step is to install Microsoft Authenticator on an Android phone or iPhone.
After installing the app, sign in to your Microsoft account’s advanced security settings. From there, you can choose how you want to use Authenticator.
Choose Your Preferred Sign-In Method
Microsoft provides three options for using Authenticator with a personal account.
1. Add Authenticator as an Alternative Sign-In Option
This option can provide another way to sign in or verify your identity.
Select Add a new way to sign in or verify, then choose the option to use an app.
If Authenticator is already installed, choose the option to set up a different authenticator app and continue through the setup process.
Open Microsoft Authenticator, tap the + button, select Personal Account, and choose Scan a QR code. Then scan the code displayed during setup.
2. Turn On Two-Step Verification
Two-step verification adds an additional step when signing in to your Microsoft account.
In your Microsoft account security settings, select Turn On under Two-step verification and follow the instructions provided.
During setup, you may receive recovery codes. These should be stored somewhere safe because they may be needed if you lose access to your phone.
3. Enable Passwordless Sign-In
Passwordless sign-in allows you to verify access to your Microsoft account with your phone instead of entering a password.
To enable it, locate the Passwordless Account option in your Microsoft account security settings, turn it on, and follow the verification instructions.
How to Set Up Microsoft Authenticator for a Work or School Account
Employees and students can also use Microsoft Authenticator with accounts provided by an organization or educational institution.
Step 1: Install the App
Download and install Microsoft Authenticator on your Android or iPhone.
Step 2: Open Your Security Settings
Sign in to the security settings associated with your work or school account.
If the Security info page does not appear, look for Additional security verification. Select the option for Authenticator app, choose Configure, and follow the instructions.
Step 3: Add a Sign-In Method
Select + Add sign-in method.
Choose Microsoft Authenticator from the available options and select Add.
Step 4: Display the QR Code
Select Next to display the QR code that will be connected to the Authenticator app.
Step 5: Add the Account in Microsoft Authenticator
On your phone:
- Open Microsoft Authenticator.
- Tap +.
- Select Add account.
- Choose Work or school account.
- Select Scan a QR Code.
Use your phone to scan the QR code shown on the other device.
If scanning the QR code is not possible, you may be able to select Sign in with your credentials and complete the process by following the on-screen instructions.
How to Use Microsoft Authenticator for Other Accounts
Microsoft Authenticator can also work with certain non-Microsoft services, including Amazon, Google, and Facebook, when those services support authenticator apps for two-step verification.
The general process is similar across supported services.
Enable Two-Step Verification
First, open the security, password, or sign-in settings for the account you want to protect.
Enable two-step verification and choose the option to use an authenticator app. The service should then provide a QR code.
Add the Account to Microsoft Authenticator
Open Microsoft Authenticator and:
- Tap +.
- Select Add account.
- Choose Other Account.
- Allow camera access if prompted.
- Scan the QR code.
Follow any remaining instructions provided by the service.
Some accounts may require additional steps to complete setup.
How to Sign In Using Microsoft Authenticator
Once your account is connected, the app can be used as part of the sign-in process.
The exact method depends on the account and the type of verification being used.
Approving a Sign-In Request
For a Microsoft account, you may see an option such as Send notification.
You might also need to select Other ways to sign in and then choose the option to approve the request through Microsoft Authenticator.
Open the notification or the Authenticator app on your phone and verify the sign-in request.
In some cases, you may see a number displayed on the device where you are signing in. Select the matching number in Authenticator and tap Approve.
Using a One-Time Code
Other services may require you to enter a code generated by Microsoft Authenticator.
Open the app, select or locate the appropriate account, and use the displayed code when prompted.
The source material notes that these codes refresh every 30 seconds. If the code changes before it is entered, use the newly generated code.
How to Back Up Microsoft Authenticator
Backing up Authenticator can make it easier to restore supported account information after replacing or resetting a phone.
The process differs between iPhone and Android.
Back Up Microsoft Authenticator on iPhone
Microsoft Authenticator uses iCloud for backup on iPhone.
Before enabling the app’s backup feature, make sure iCloud Drive is enabled.
You can then:
- Open the iPhone Settings app.
- Tap your name.
- Select iCloud.
- Open Drive and make sure syncing is enabled.
- Return to the iCloud settings and select Passwords.
- Make sure syncing is enabled if it is turned off.
- Open Microsoft Authenticator.
- Open the menu and select Settings.
- Turn on iCloud Backup.
Back Up Microsoft Authenticator on Android
On Android, you can enable cloud backup from within the app.
- Open Microsoft Authenticator.
- Tap the menu ⋮.
- Select Settings.
- Turn on Cloud backup.
- Select your Microsoft account.
- Tap OK.
How to Transfer Microsoft Authenticator to a New Phone
If backup was enabled, moving to a new phone can be simpler.
Install Microsoft Authenticator on the new device and sign in using the same relevant account used for the backup.
Accounts using one-time passwords can then be restored. For passwordless sign-in accounts, select Sign In on the account and complete the sign-in process to restore access.
If you no longer have access to the iCloud, Google, or Microsoft account associated with the previous setup, Authenticator cannot be restored until access to that account is recovered.
Remove Your Old Device After the Transfer
If you still have the old phone, remove the account from Microsoft Authenticator after confirming that your accounts are restored on the new device.
Otherwise, codes or notifications could continue being sent to the previous device.
To remove an account:
- Open Microsoft Authenticator.
- Select the account you want to remove.
- Tap the gear icon.
- Choose Remove Account.
Step-by-Step Guide: How to Set Up Microsoft Authenticator
For a basic setup, follow these steps:
- Install Microsoft Authenticator on your Android or iPhone.
- Open the security settings for the account you want to protect.
- Enable two-step verification, add a sign-in method, or choose passwordless sign-in, depending on the account and available options.
- Select the option to use an authenticator app when prompted.
- Open Microsoft Authenticator and tap + to add an account.
- Choose the correct account type, such as Personal Account, Work or school account, or Other Account.
- Scan the QR code displayed during the account setup process.
- Follow the remaining on-screen instructions to finish connecting the account.
- Enable backup if you want to make restoring Authenticator on another phone easier.
- Use notifications, number matching, or one-time codes when signing in, depending on the account’s verification method.
Frequently Asked Questions
Can Microsoft Authenticator be used for accounts other than Microsoft?
Yes. Microsoft Authenticator can be used with supported services that allow authenticator apps for two-step verification, including Amazon, Google, and Facebook.
How do I add a Microsoft account to Authenticator?
Open Microsoft Authenticator, tap +, select the appropriate account type, and follow the setup instructions. For a personal account, this can involve selecting Personal Account and scanning a QR code.
What should I do if I cannot scan a QR code for a work or school account?
If the option is available, select Sign in with your credentials and follow the on-screen instructions instead.
How often do Microsoft Authenticator codes change?
The one-time codes generated by Microsoft Authenticator refresh every 30 seconds.
Can I restore Microsoft Authenticator on a new phone?
Yes, if backup was enabled and you can sign in using the appropriate account associated with the backup. One-time password accounts can be restored, while passwordless accounts may require you to sign in again.
Should I remove Authenticator from my old phone?
Yes. After confirming that your accounts are restored on the new phone, remove the accounts from the old device so codes and notifications are not sent there.
Conclusion
Microsoft Authenticator provides several ways to verify access to personal, work, school, and supported third-party accounts. Depending on the account, it can be used for two-step verification, passwordless sign-in, approval notifications, or one-time codes.
The key to a successful setup is choosing the correct account type, completing the QR code or sign-in process, and enabling backup when available. If you later move to a new phone, restoring access can be easier when the backup settings and associated accounts remain accessible.
Read More : How to Introduce Your Company and Make a Strong First Impression




1 comment