HowToForYou.com – As digital privacy becomes an increasing concern in today’s hyper-connected world, more users are turning to built-in tools and secure practices to safeguard their online presence. Among the most widely used solutions is private browsing, a feature now standard in many modern web browsers — including Apple’s Safari. But while Safari’s Private Browsing mode offers a baseline level of protection, users who seek comprehensive privacy must look beyond it.
In this guide, we examine not only how to activate private browsing on Safari across Apple devices but also explore complementary strategies to build a more secure and anonymous browsing experience.
What Does Safari’s Private Browsing Mode Actually Do?
Private Browsing in Safari is designed to limit the amount of data stored during an internet session. Once activated, Safari:
-
Prevents browsing history and search queries from being saved.
-
Blocks cookies that track users across sites.
-
Disables AutoFill for usernames and passwords.
These features help users reduce their digital footprint — especially on shared or public devices — but they don’t provide total anonymity. For instance, your internet service provider (ISP), the websites you visit, and network administrators (such as those at your workplace or school) can still monitor your activity.
How to Enable Private Browsing on Safari
Apple has made it simple to activate Private Browsing mode across its ecosystem — whether you’re using an iPhone, iPad, MacBook, or iMac.
On iPhone and iPad (iOS/iPadOS 17 and above)
-
Open Safari from your home screen.
-
Tap the tabs icon (two overlapping squares) at the bottom right.
-
Swipe right on the tab groups until you see “Private.”
-
Tap “Unlock” if prompted (Face ID or Touch ID may be required).
-
Tap the “+” icon to open a new private tab.
On Older Versions of iOS/iPadOS
-
Launch Safari.
-
Tap the tab switcher icon.
-
Tap “Private” in the lower-left corner.
-
Begin browsing from the new private tab that opens.
On Mac (macOS)
-
Open Safari from the dock or Applications folder.
-
Click “File” on the menu bar.
-
Select “New Private Window.”
-
Alternatively, use the shortcut Shift + Command + N to open a private window instantly.
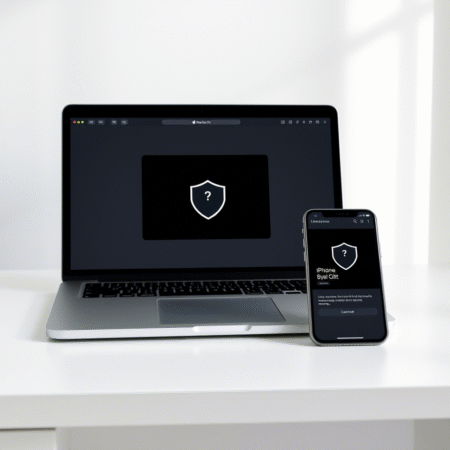
In private mode, Safari clearly distinguishes these windows with a dark address bar, ensuring users know when they’re in a secure session.
Beyond Private Browsing: Strengthening Your Online Privacy
While Safari’s Private Browsing is a strong starting point, it’s not foolproof. For more robust protection, consider adding these tools to your privacy toolkit:
1. Use a VPN (Virtual Private Network)
A VPN encrypts your internet traffic and masks your IP address, offering a higher level of anonymity. This is especially important on unsecured networks like public Wi-Fi. Many reputable VPN services offer apps for iOS, macOS, and iPadOS, making it easy to integrate with Safari.
2. Keep Safari and iOS/macOS Updated
Security patches and privacy enhancements are frequently rolled out in new updates. Ensuring your Safari browser and operating system are current helps protect you from vulnerabilities and tracking methods.
3. Block Trackers and Fingerprinting
Safari includes built-in features such as Intelligent Tracking Prevention (ITP) that limit cross-site tracking. You can view a privacy report by clicking the shield icon next to the address bar. For more aggressive privacy, consider extensions that block JavaScript fingerprinting and third-party trackers.
Privacy is a Journey, Not a Toggle
Using Private Browsing mode in Safari is a meaningful step toward protecting your online identity, but it’s not the final destination. Think of it as part of a layered defense — effective when combined with a VPN, regular software updates, and strong browsing habits.
As digital threats evolve, so must our strategies. Apple continues to invest in privacy-first features, and users who actively engage with these tools are best positioned to stay safe in an increasingly data-driven world.


