HowToForYou.com – The holiday season often brings exciting new tech gifts, with Windows laptops and PCs being among the most popular. However, many users may not realize that hidden beneath the sleek exterior of their new machine lies an unwelcome intruder: bloatware. These pre-installed applications can not only slow down your system but also pose security risks. Fortunately, removing bloatware is simpler than you might think. Here’s what you need to know to optimize your new device.
What Is Bloatware?
Bloatware refers to unnecessary or unwanted software that comes pre-installed on your computer. These applications can take up valuable storage space, use system resources, and even present potential security vulnerabilities. Examples include trial versions of antivirus programs, manufacturer-specific utilities, and apps like the Xbox Game Bar, which may be irrelevant to non-gamers.
Why Should You Remove Bloatware?
- Improve System Performance – Many bloatware applications run in the background, consuming RAM and processing power, which can slow down your device.
- Reclaim Storage Space – Unwanted programs can occupy significant amounts of storage that could be used for important files and applications.
- Enhance Security and Privacy – Some bloatware may collect data or leave security loopholes that hackers can exploit.
- Reduce Annoying Pop-ups – Trialware and promotional software often generate persistent reminders, cluttering your user experience.
How to Identify Bloatware
To remove bloatware effectively, you first need to determine which applications are unnecessary. Here’s how:
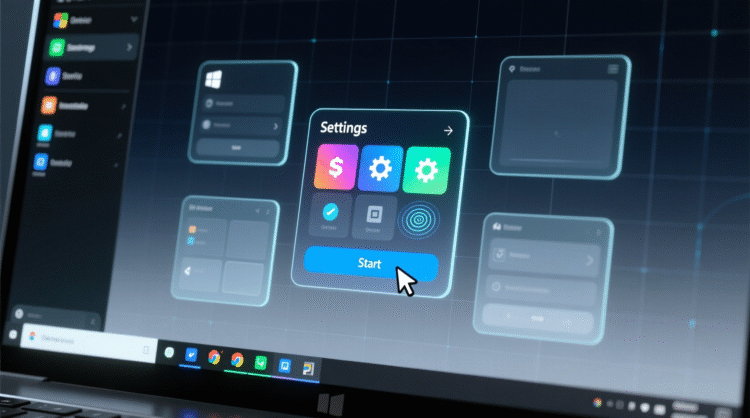
- Check Installed Programs – Open the Settings menu and navigate to Apps > Installed apps to see a list of software on your device.
- Look for Unfamiliar Apps – Any programs that you don’t remember installing or never use could be potential bloatware.
- Research Before Deleting – If unsure, a quick online search can help determine whether an application is essential or expendable.
Best Methods to Remove Bloatware
1. Uninstall Through Windows Settings
For most unwanted applications, simply:
- Go to Settings > Apps > Installed apps.
- Select the unwanted program and click Uninstall.
- Follow the prompts to remove the application.
2. Use Windows PowerShell for Bulk Removal
For advanced users, Windows PowerShell can be a powerful tool for removing built-in apps:
- Type PowerShell in the Windows search bar, right-click it, and select Run as Administrator.
- Enter the command
Get-AppxPackage | Select Name, PackageFullNameto list all installed applications. - Identify the app you want to remove and use the command:
Get-AppxPackage *AppName* | Remove-AppxPackageReplace AppName with the exact package name.
3. Try Third-Party Bloatware Removal Tools
If manually removing bloatware seems overwhelming, third-party tools such as CCleaner, Revo Uninstaller, or PC Decrapifier can automate the process. These tools scan your system for unnecessary software and allow batch removal.
4. Perform a Fresh Windows Installation
For those who prefer a completely clean slate, reinstalling Windows can remove all manufacturer-installed bloatware. To do this:
- Go to Settings > System > Recovery.
- Click Reset this PC and choose Remove everything.
- Follow the on-screen instructions to complete the reset.
Final Thoughts
Bloatware is an unnecessary burden on new Windows devices, but taking proactive steps to remove it can significantly enhance your computer’s performance, security, and user experience. Whether through manual uninstallation, PowerShell commands, third-party software, or a fresh Windows installation, eliminating bloatware ensures that your PC runs smoothly from day one. By investing a little time upfront, you can enjoy a cleaner, faster, and more efficient system tailored to your needs.


