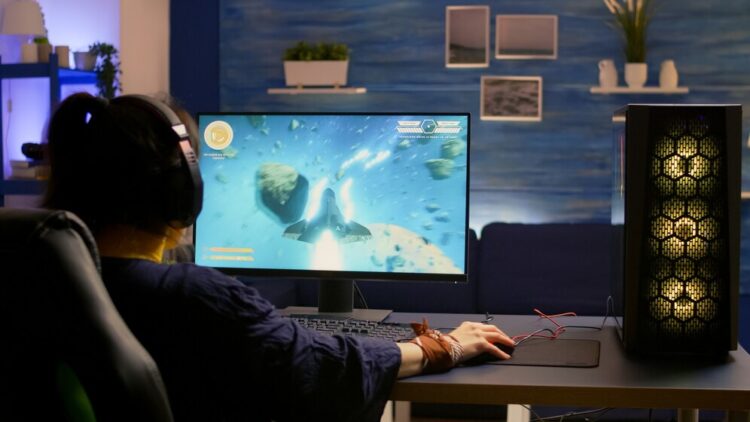
Howtoforyou.com – Getting your first gaming PC is an exhilarating experience. Whether you’ve chosen a meticulously built custom rig or opted for the convenience of a pre-assembled model, a gaming PC provides an unmatched level of performance and versatility.
This leap in technology often transforms your gaming experience, leaving you wondering how you ever managed with laptops or consoles. However, unlocking the full potential of your new system requires thoughtful setup and preparation. Here’s a step-by-step guide to get started.
1. Thoroughly Inspect for Packaging Material
Before powering on your gaming PC, ensure that all protective materials used during shipping are removed. Pre-built PCs often include airbags, foam inserts, or other packing materials to protect fragile internal components during transit.
Failing to remove these materials could lead to overheating or even permanent damage caused by melting plastic or obstructed fans. Open the case, check all corners, and carefully remove any material around components such as the GPU, motherboard, and cooling fans.
2. Install and Update Drivers
Your new gaming PC’s performance heavily relies on having the right drivers installed and updated. Start by connecting your PC to the internet and allowing Windows to run any initial updates. Next, focus on your graphics drivers to maximize GPU performance:
- For Nvidia GPUs: Download the GeForce Experience tool or visit Nvidia’s official website to find and install the latest drivers. Alternatively, use the Windows Device Manager by pressing
Windows + X, navigating to “Device Manager,” selecting “Display adapters,” and updating your GPU driver manually. - For AMD GPUs: Visit the AMD Drivers + Download Center and use the Radeon software, which can detect your GPU and download the appropriate drivers automatically. For manual installation, use the AMD Product Selector.
Updated graphics drivers not only improve gaming performance but also ensure compatibility with the latest titles and stability enhancements.
3. Optimize Security and Privacy Settings
Maintaining system security is crucial, especially for a new PC connected to the internet. While Windows Defender provides a solid layer of protection against malware, consider taking additional steps:
- Install Browser Extensions: Add an ad blocker like uBlock Origin to your browser to prevent invasive ads and reduce the risk of malicious sites.
- Adjust Privacy Settings: Navigate to the Windows Start Menu, search for “Privacy Settings,” and review options to limit data tracking by third parties and advertising networks.
- Enable Monitoring Software: Install tools that monitor CPU and GPU temperatures, frame rates, and fan speeds. These applications can help you identify performance bottlenecks and ensure your hardware runs efficiently.
4. Configure System Settings for Peak Performance
Your PC’s potential depends on properly configured system settings. Here are some key areas to address:
- Windows Updates: Check for updates via the settings menu to install the latest patches and security fixes.
- Monitor Refresh Rate: Verify your monitor’s refresh rate is set to match its specifications (e.g., 144Hz or 240Hz) to fully enjoy smooth visuals. You can adjust this setting under Display Settings.
- Power Settings: Optimize power plans to ensure high performance during gaming. Search “Power Plan” in the Start Menu and select “High Performance” or create a custom plan.
Final Thoughts
Setting up a gaming PC is an opportunity to lay the foundation for years of exceptional gaming. By carefully inspecting your system, updating drivers, enhancing security, and fine-tuning settings, you’ll ensure your rig performs at its best from day one.
Take the time to explore your system’s capabilities and enjoy the immersive experience that only a gaming PC can offer.


